Instructions
How to send out my Ecard
Please follow these steps to send out your corporate Holiday Ecard using your own Email address:
1. Gather your files
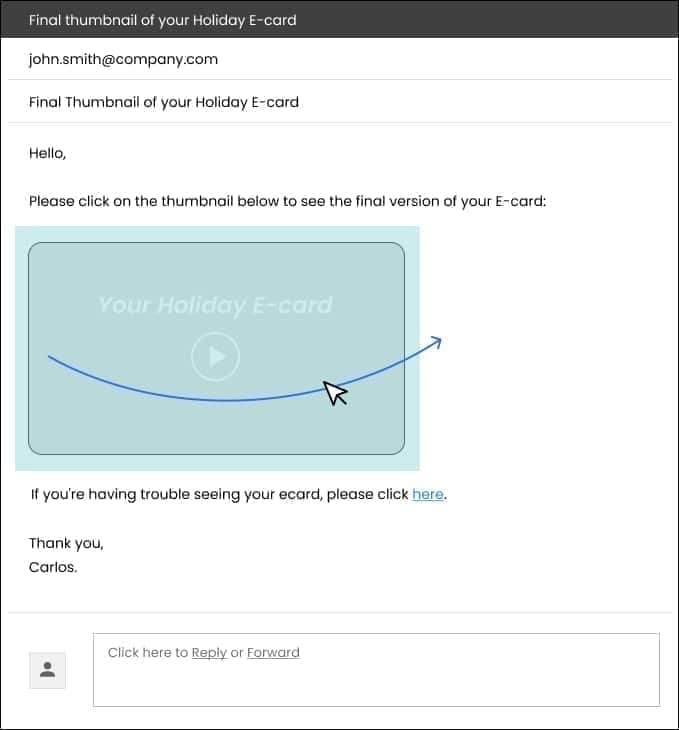
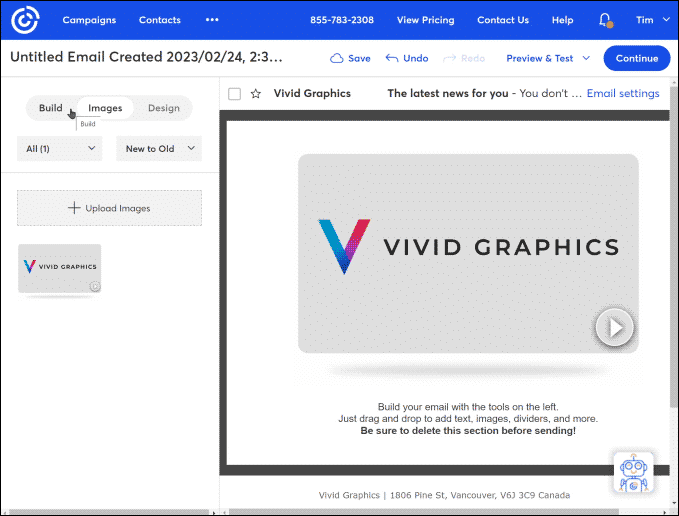
When your e-card is ready, we’ll send you an e-mail with an image (also known as a thumbnail), which contains a link to your e-card:
1. A jpeg image
(thumbnail image of your video)

2. A URL link to your video

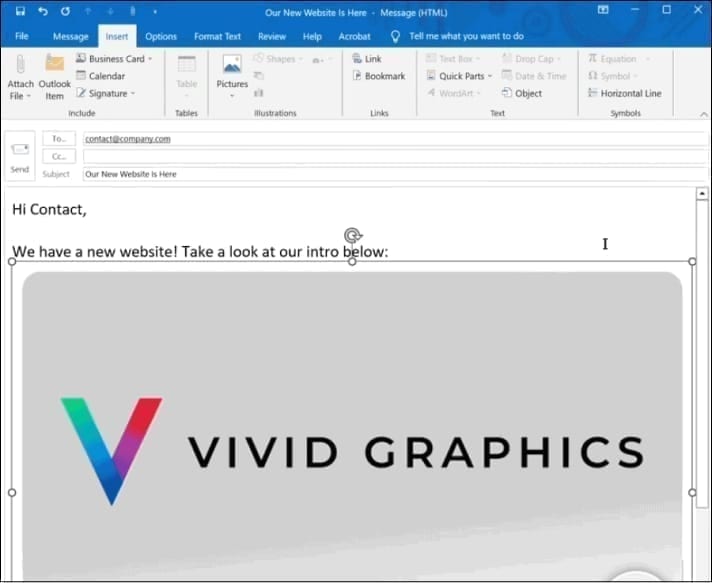
Your Email will look something like this example below:

2. Selecting the Thumbnail Image
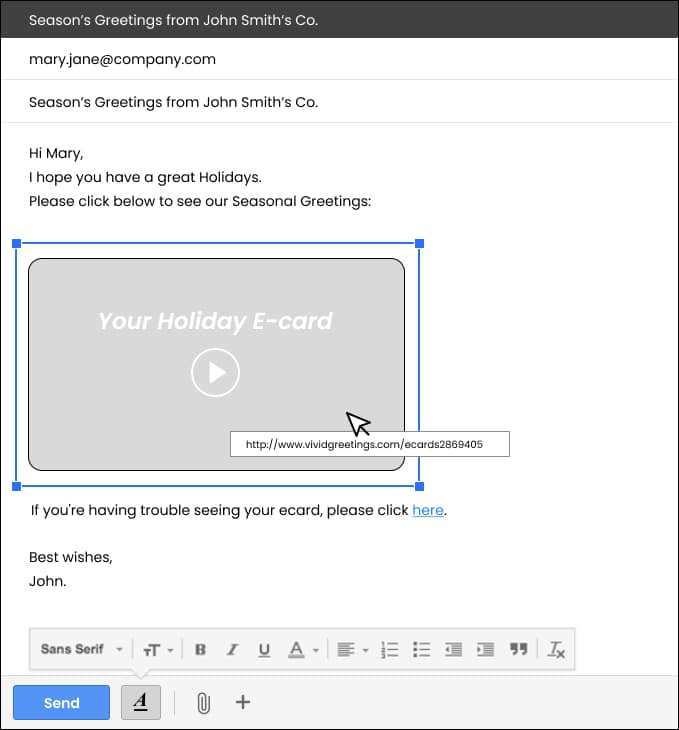
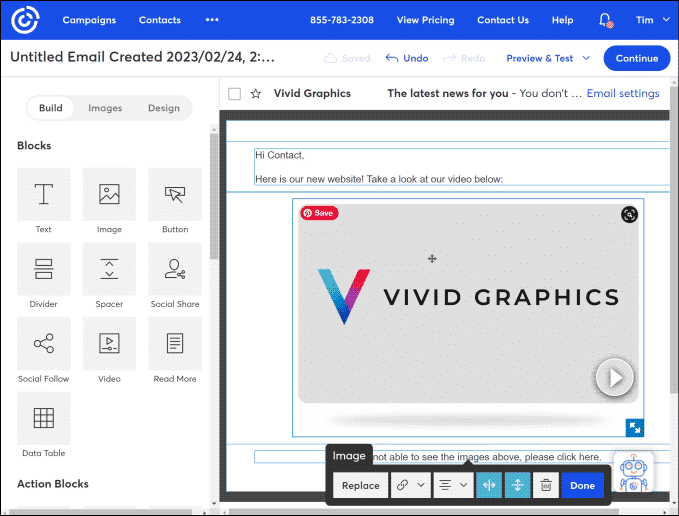
Highlight the image by clicking outside of it, at the right side of the image (the cursor shouldn’t be a pointing hand when you start), and holding and dragging your mouse to the left side of it. (See Image below)
Copy the image, either by clicking the menu ‘Edit’ and then ‘Copy’ in your browser, or by pressing Ctrl + C (Windows) / Command + C (Mac) on your keyboard.
3. pasting the Thumbnail image
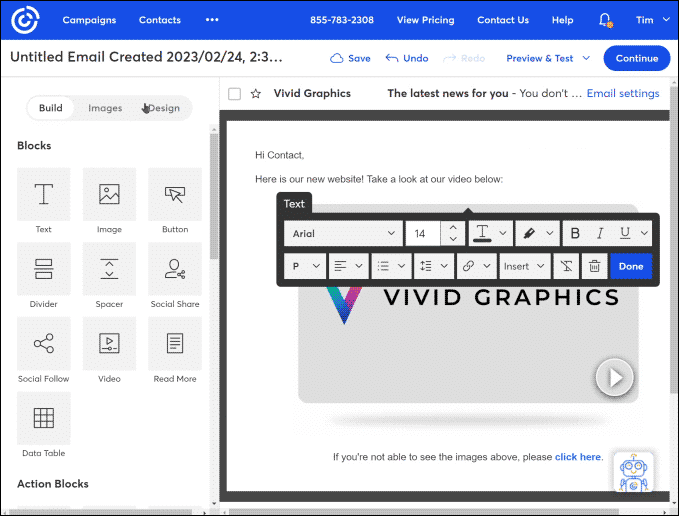
Paste the image inside the body of the e-mail you want to send to your contacts, either by clicking the menu ‘Edit’ and then ‘Paste’ in your browser, or by pressing Ctrl + V (Windows) / Command + V (Mac) on your keyboard.
The thumbnail will now be inserted in the e-mail’s body.
Check to make sure the thumbnail is linked to your Ecard by clicking on it – the URL link should appear while you click on the thumbnail image.
4. Finalize your content & send
Now the thumbnail image is linked with the URL. It’s time to finish up your email content.
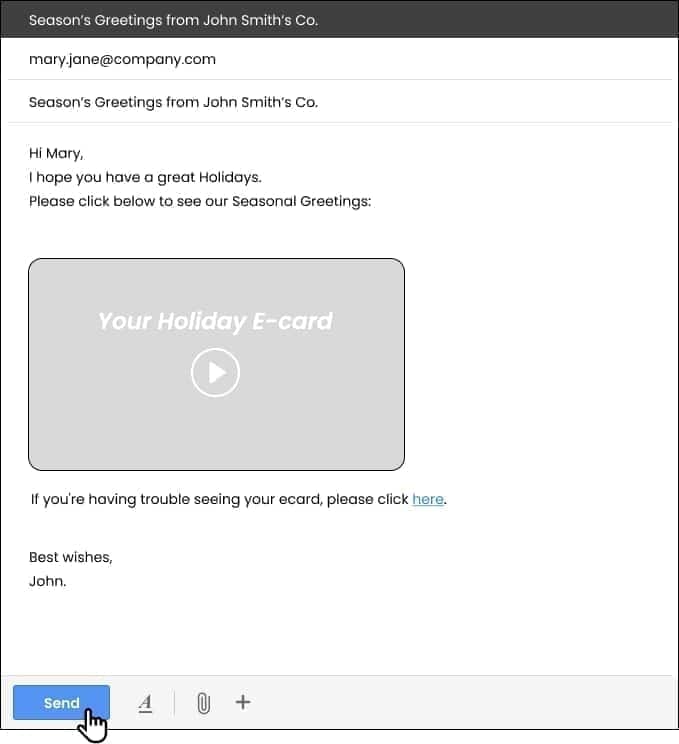
All that is left to do is to click ‘send’ on the email and you’re done!
How to send out through Microsoft Outlook
Please follow these steps to send out your corporate Holiday Ecard using your own Email address:
1. Gather your files
When your e-card is ready, we’ll send you an e-mail with an image (also known as a thumbnail), which contains a link to your e-card:
1. A jpeg image
(thumbnail image of your video)
2. A URL link to your video
2. Upload the thumbnail image to Outlook
Open a new email in Outlook, upload your contact list. Add your subject line & content.
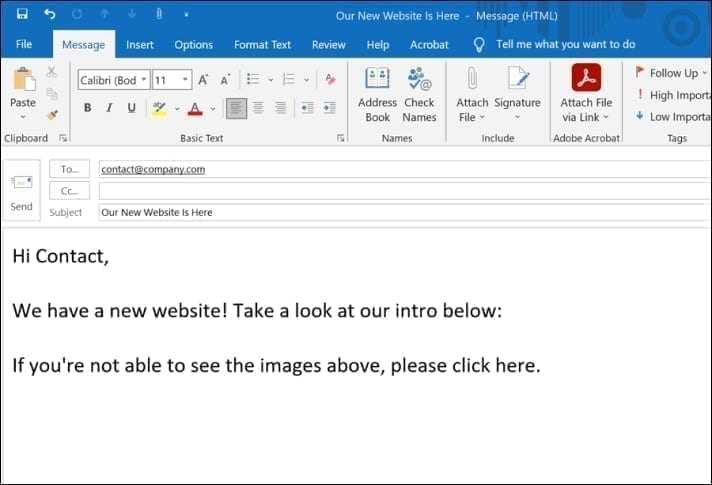
Next, upload the thumbnail image into the body of the email. Choose ‘Insert’ tab, then clicks ‘Pictures’, and ‘Choose Picture from’. It will open up attachments options. Locate the thumbnail jpeg you saved from step 1 and select it. You should now see the jpg thumbnail inserted in the body of your email.

3. Link the thumbnail image to the URL of your Corporate Video
First, highlight the image by mouse click on the image. With the image highlighted, click on the ‘Link’ button . A new window opens, it will read “Insert hyperlink”, copy your URL address from step 1 and paste it here and click ‘OK’.
Secondly, highlight the text ‘click here’. Repeat the steps above by click on the ‘Link’ button. Insert your URL address from step 1 and paste it here and click ‘OK’.

4. Send to your contacts
All that is left to do is to click ‘send’ on the email and you’re done!
How to send out through Mailchimp
Please follow these steps to send out your corporate Holiday Ecard using your own Email address:
1. Gather your files
When your e-card is ready, we’ll send you an e-mail with an image (also known as a thumbnail), which contains a link to your e-card:
1. A jpeg image
(thumbnail image of your video)
2. A URL link to your video
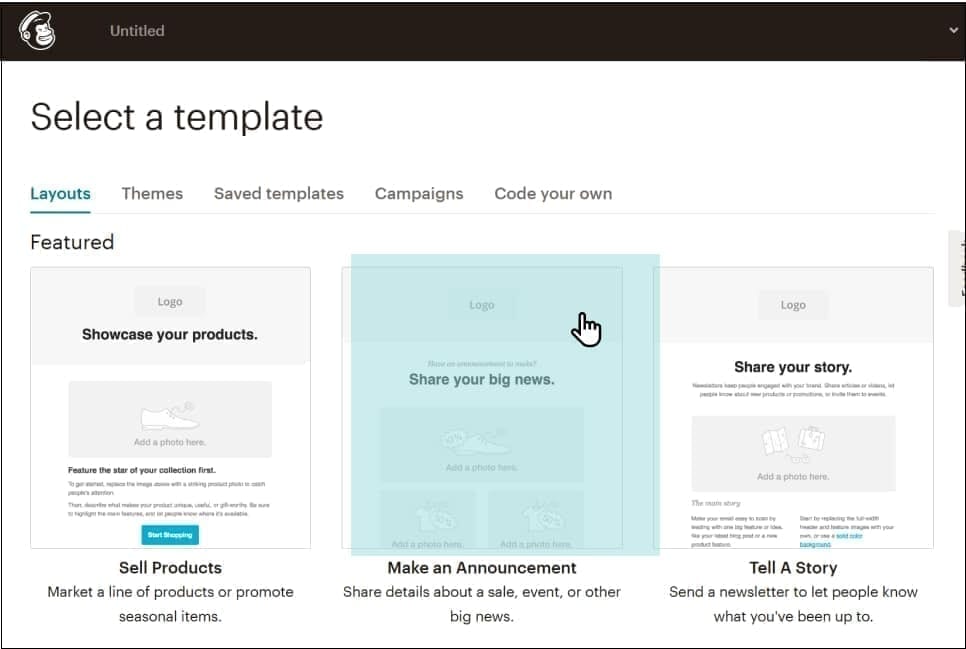
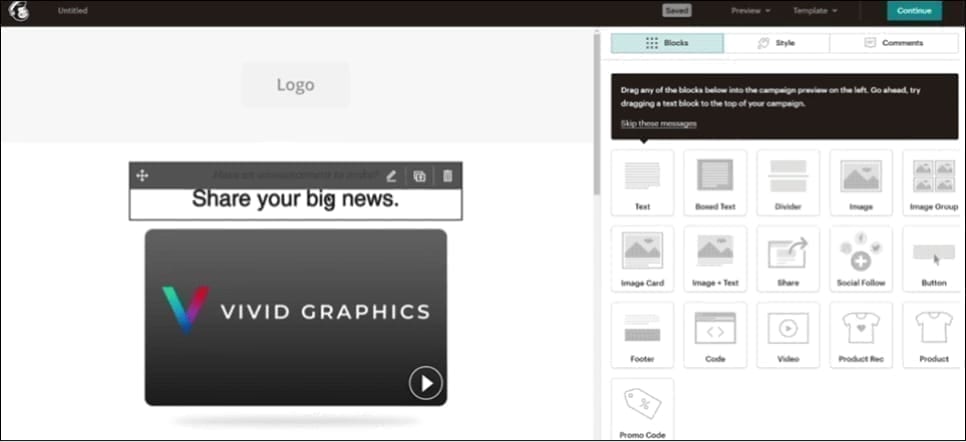
2. login to your mailchimp account & Select new template
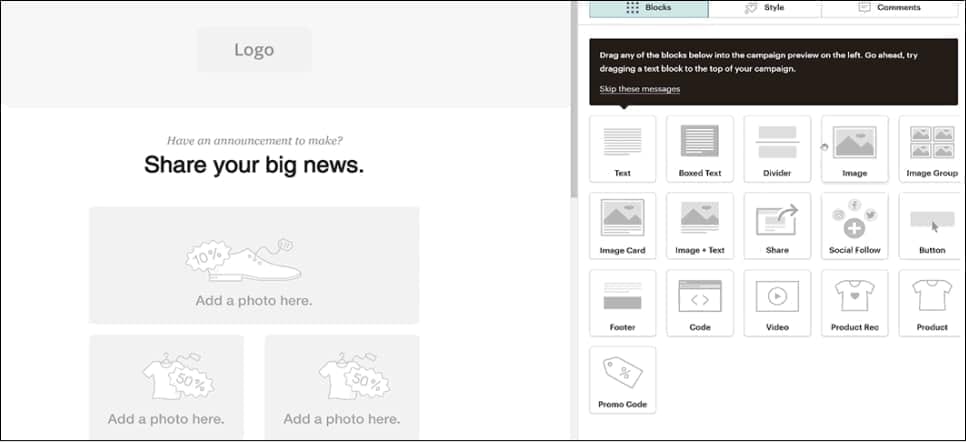
3. Upload the thumbnail image to your template
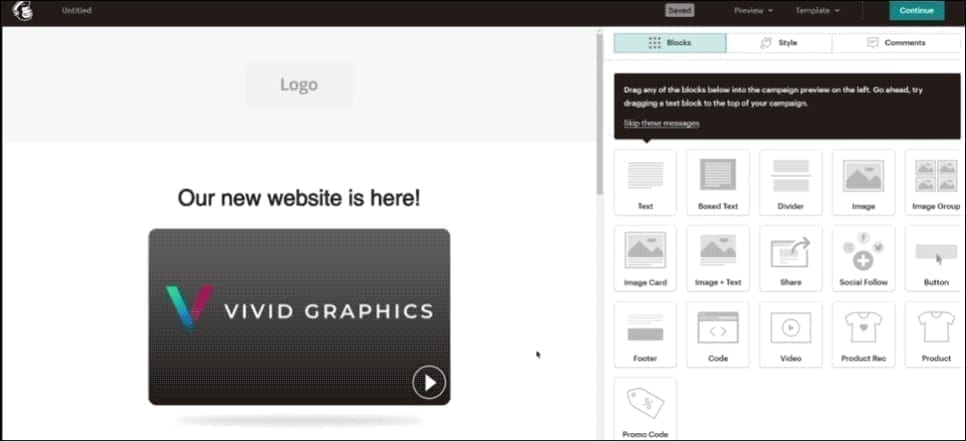
Drag the ‘Image’ button on the right side of the screen to insert an image into your template.
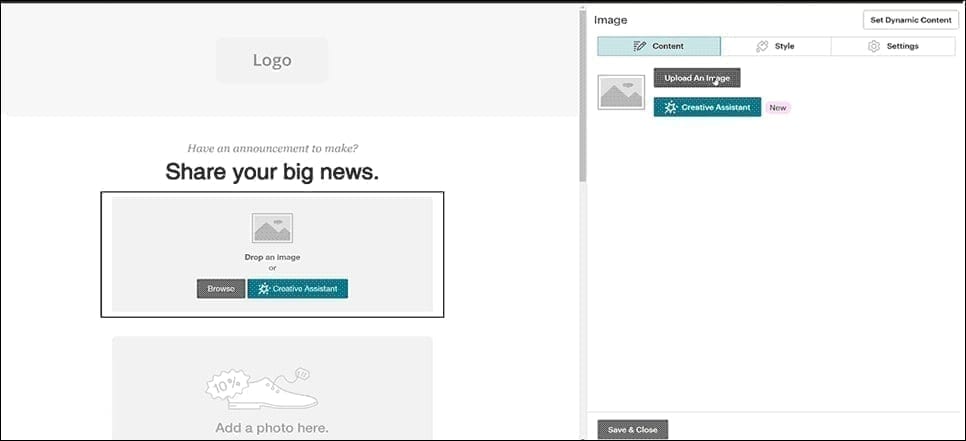
Choose ‘Upload An Image’, select a Jpeg Thumbnail Image we send you. Then click ‘Save and Close’ to finish uploading the thumbnail image.
4. Insert the URL to the thumbnail image
Click into the thumbnail image, choose an ‘link’ option. Copy the URL we send, and paste it on the ‘Web address (URL)’ slot. Click ‘insert’ button,
then ‘Save & Close’.
5. Finalize your content & send
Now the thumbnail image is linked with the URL. It’s time to finish up your announcement content.
All that is left to do is to click ‘send’ on the email and you’re done!
How to send out through Constant Contact
Please follow these steps to send out your corporate Holiday Ecard using your own Email address:
1. Gather your files
When your e-card is ready, we’ll send you an e-mail with an image (also known as a thumbnail), which contains a link to your e-card:
1. A jpeg image
(thumbnail image of your video)
2. A URL link to your video
2. login to your Constant Contact account & Create new email
3. Upload the thumbnail image to your template
Select a new template, choose ‘Images’ tab, and click ‘upload Images’ button. Select a thumbnail image we send you at Step 1.
Drag the thumbnail image on the left hand side into the template on the right hand side. Adjust the size as needed.
Insert URL to the thumbnail image by left click on the thumbnail image, choose ‘Insert Link’ to ‘Web Page’. Tick the ‘Enable Click Segmentation’ checkbox, select ‘General Interest’ at the dropdowns menu. Now your thumbnail image is linkable to the URL.
5. Finalize your content & send
Now the thumbnail image is linked with the URL. It’s time to finish up your announcement content.
All that is left to do is to click ‘send’ on the email and you’re done!
How to use Vivid Greetings’ Sending System
We will provide you with a link, username and password to login to the system to send your ecard.
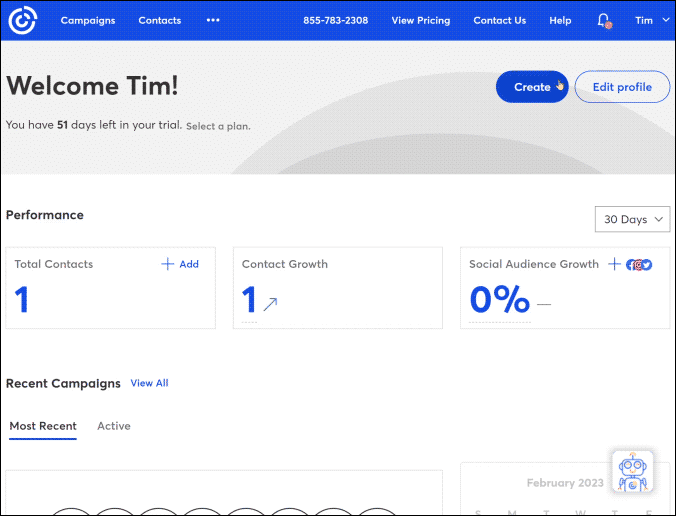
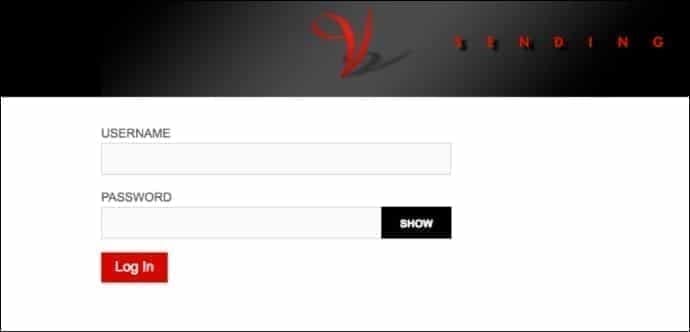
1. Log In
Click the link we sent to you in an email. It will take you to your sending system account. You will be prompted with a login.
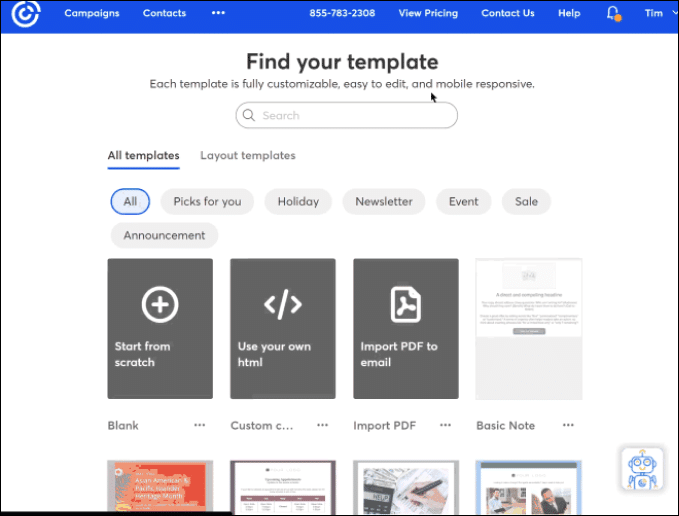
2. Choose the ecard you want to send
After logging in, you will be brought to a screen that displays your ecard thumbnail. If you have multiple cards, all of the thumbnails will be displayed.
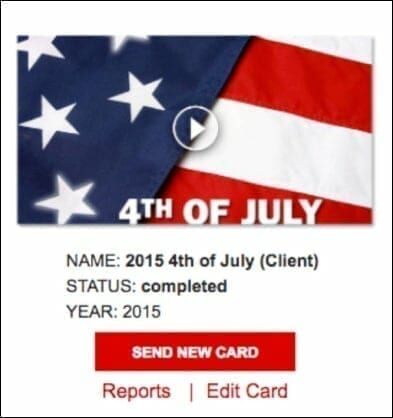
Click Send New Card under the e-card you’d like to send.
3. Filling out the Form
After clicking ‘Send New Card’, you will be brought to this screen:
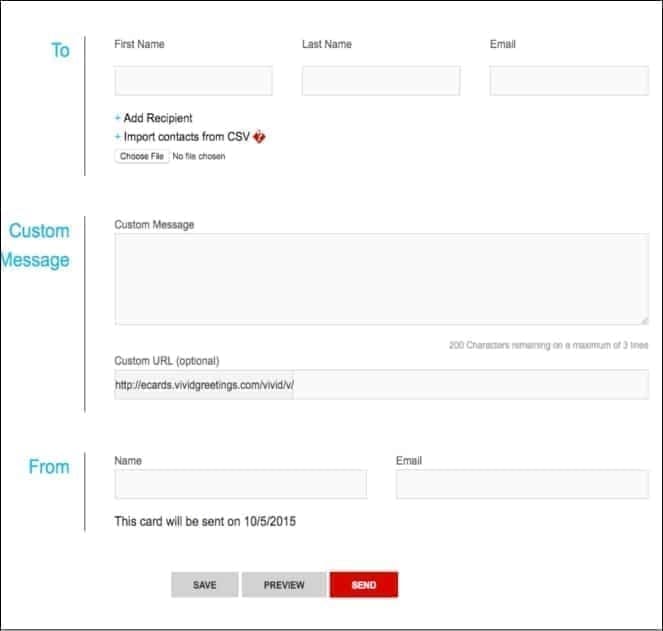
Here, you can upload your recipient list, add a custom message and enter in sender information. If you have opted out of having a custom message, the custom message block will not be there.
4. Add Recipients
First, you need to add your recipients. There are 2 ways to do this:
- You can enter manually, like bellow.

- You can upload a list of recipients.
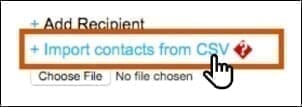
In order to do that, you need to have a correctly formatted .csv file. Instructions on creating one in our format can be found here: https://vividgreetings.com/instructions/how-to-create-a-csv/ or by pressing the highlighted button:
The first name column and the last name column are optional and do not need to be filled in. To add another contact, click the + Add Recipient and another space will appear.

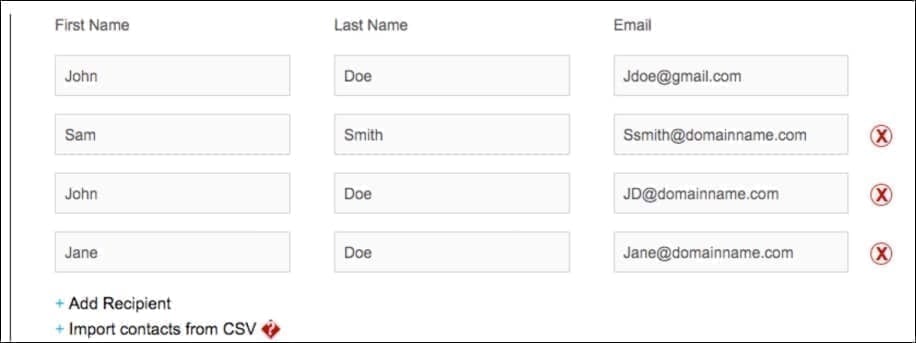
Once you have your file ready, click ‘choose file’ to upload. If the file is correct, the list will populate and look like this:
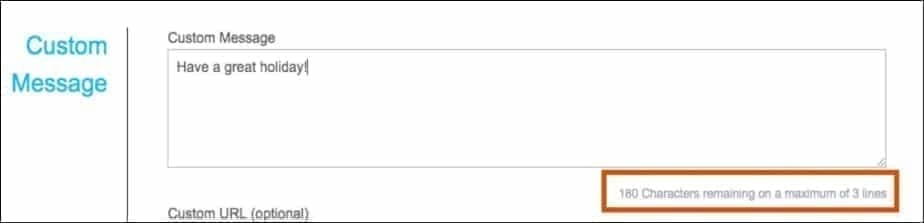
5. Add Custom Message
If you would like to enter a custom message, type your message in the box. Please note there is a character limit for your custom message (highlighted below).
6. Sender Information
Enter in the Sender’s information. The sender’s email address is where any replies will be directed to as well as where the delivery receipt will be sent to.

When the card has been sent, the screen will return to where you selected your card, and a green box (like the screenshot below) will come across the bottom right of the screen confirming the card sent or was scheduled.

All that is left to do is to click ‘send’ on the email and you’re done!
How to create a CSV file to upload my contact list
These instructions will cover the steps needed to create a recipient list by converting an Excel file into a .csv file so that it may be uploaded to our sending system and used to send ecards to your list.
1. Export your contacts to an Excel file
Export your contact list to an Excel file. Open the Excel file in MS Excel or equivalent software you use for spreadsheets.
2. Format Information
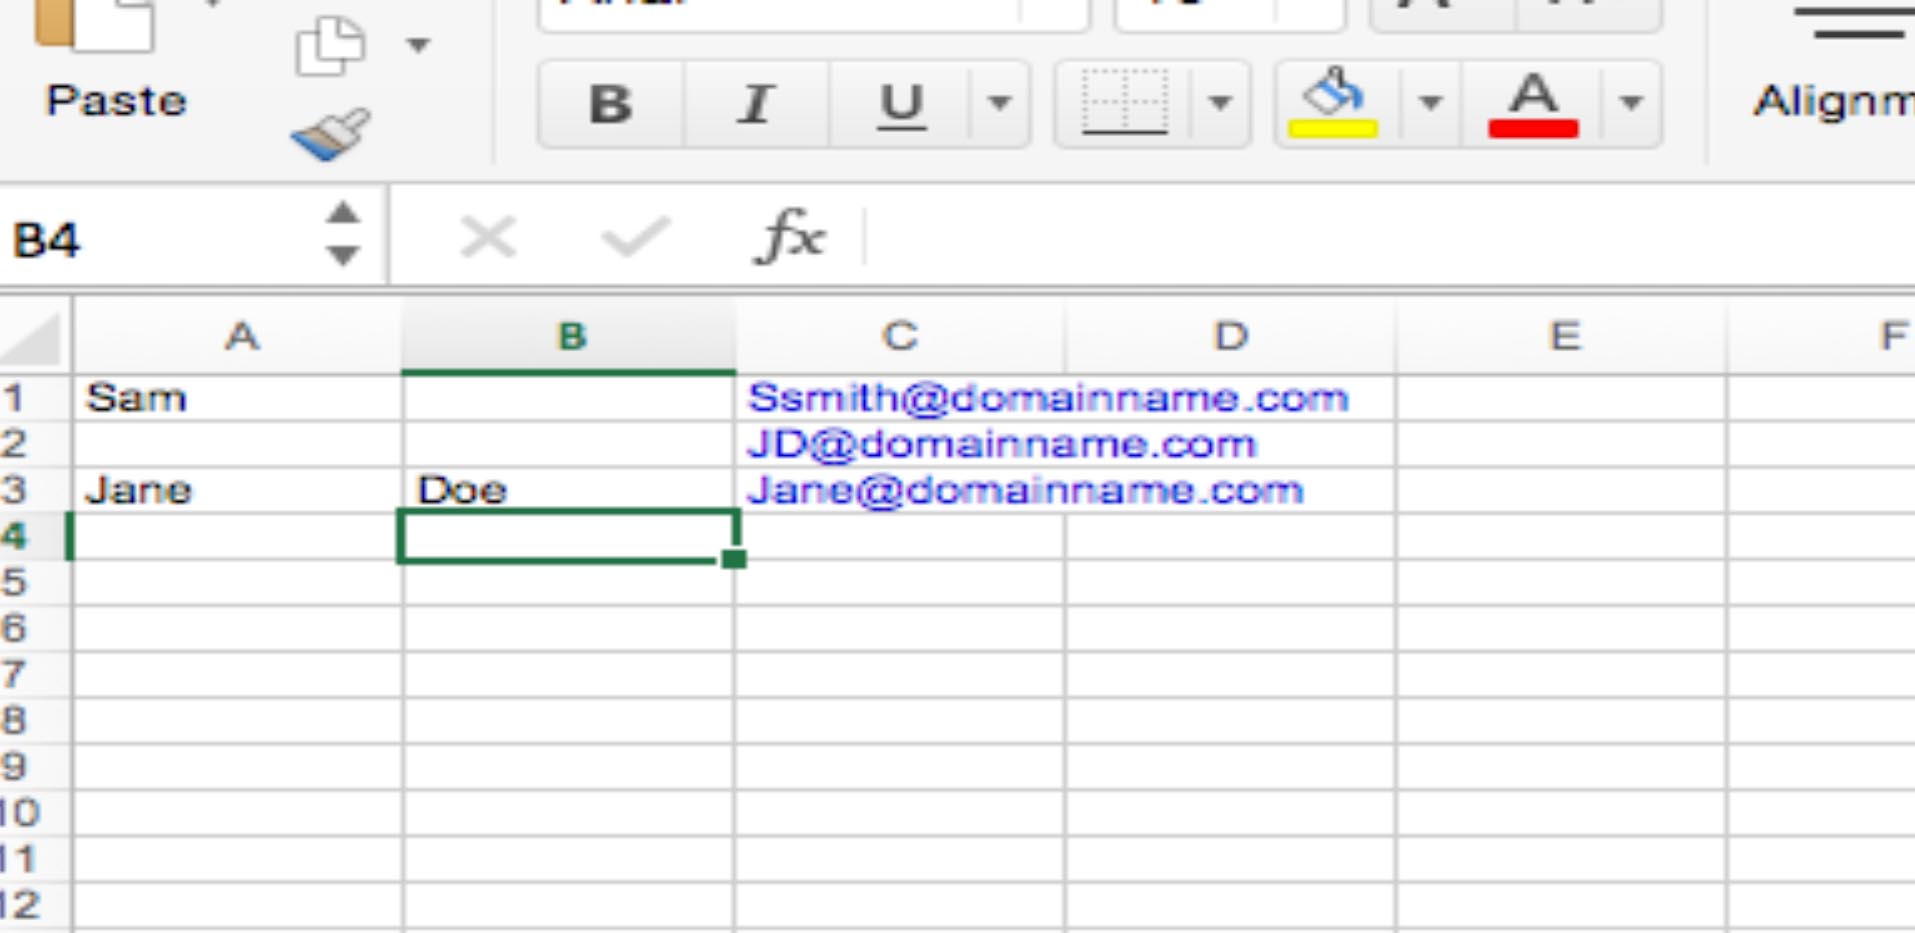
Please edit and re-arrange your data so that it looks like this:
- Column A must have the First Name
- Column B must have the Last Name
- Column C must have an Email Address

If you do not have first names or last names, the columns must remain blank. See the following example:
Please also ensure all your email addresses are correct. Otherwise you will increase your chances of the ecard going to spam.
3. Saving the File
To save the file, go to ‘File’ then ‘Save As’.
Here, you can upload your recipient list, add a custom message and enter in sender information. If you have opted out of having a custom message, the custom message block will not be there.

Once you’ve clicked ‘Save As’, this screen will pop up.

Enter your filename, select where you want it to be saved, then click the drop down menu for File Format.

Select CSV and press Save.
You will be prompted the following screen:

Select ‘Save the Active Sheet’ to finish.